If there
is one realization I have come to over these past five weeks of craft blogging,
then it is definitely how quickly the days go by! No sooner do we finish one craft project,
photograph it and document it on my blog, the next one is ready to be
undertaken! But so far I think we have
done remarkably well and I can honestly say we have enjoyed every minute. I look
forward to many more hours of creating pleasure this year...
This week
I have decided to share a tutorial for a sewing project with all my
readers. This tutorial was developed by
my thirteen year old sister, Nancy and I.
Nancy came up with the method of making a fabric covered journal cover through
some genius innovation and then I had the task of testing and tweaking it. I have also spent some time writing a tutorial, as well as taking photographs to illustrate my
instructions and help you along.
The
lovely thing about our way of making these journal covers is that they are
padded to prevent damage to the book and can come on and off to be washed or
placed on a new diary or journal of the same size. They are really very simple to make, provided
you keep your wits about you in when joining everything together!! Anyone can enjoy making a pretty cover for
their journal or diary and I hope you will find this tutorial easy and
informative. If you have any trouble, please
feel free to contact me and I will get back to you.
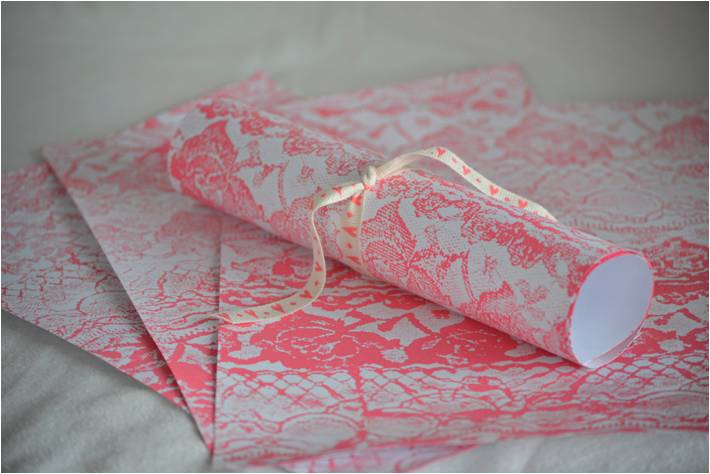
Things you will need to gather, buy and organize before you start:
Two
coordinating fabrics of your choice
Thread to
match
Batting
A hardcover
book or diary (Although my measurements are suited to a 14.5x21cm book, you can
make a cover for any size book. You just
need to add on 1cm to the top and 1cm on to the bottom of the book. You will also have to add on 1.5cm to each
side of the book, too. Otherwise, follow
the instructions as I have given them.)
Embellishments
for the front cover (ribbon, lace, beads or buttons)
A sewing
machine
A ruler
or tape measure
Material and
paper scissors
A pen and
a tailor’s pen
A large
piece of sturdy cardboard
Instructions:
1. First of all
you will need to make your template with the firm cardboard. Cut out one piece to measure 23x33cm and the
other to measure 23x9cm.
2. Now you will
need to trace the 23x33cm template on both of your chosen fabrics. You will also need to trace and cut out a
piece of batting the same size, too. All
in all you will have two pieces of fabric (one for the cover, one for the
inner) and one piece of batting. Above I
have made a basic ‘sketch’ on PowerPoint to hopefully help you understand a little better...
3. Using your
9x23cm template, trace it twice on both of your fabrics. Cut out.
You should have four fabric rectangles measuring 9x23cm (x2 of each
fabric).
4. Now you can
embellish your cover as you please. I sewed
ribbon onto mine but you can play around with many different things. For example Nancy appliqued a material heart
onto her front cover and it looked just beautiful – have fun and experiment! Or if you prefer, leave it blank...
5. Once this has
been done, you will need to pin the right sides of your flaps together. One side of the flap must be of the one
patterned fabric, and the other side must be of the other patterned fabric. Pin only on the sides measuring 23cm. Leave the tops open.
Sew a straight
stitch along the pinned sides of the flaps.
Trim edges and turn the right way around. Place iron on a very low heat and press seams
flat.
6. Now
comes the part where all distractions need to be removed or you need to be
removed from all distractions:) In other
words, much concentration is required...
Begin by laying out your cover fabric right side up on a clear
surface. Then gather your flaps. Lay them down on each side of the cover like
this. Place same pattern to same pattern
as shown below...
Now place
the right side of the inner fabric down on top of the right side of the cover
fabric. Place the batting on top of that
piece as pictured below.
Basically
the order must be: cover fabric – flaps – inner fabric – batting. NB:
Before you pin and sew, do a double and a triple check – it saves time, unpicking
and frustration further along - trust me, I know:D
7. You
can now carefully pin everything together and sew, leaving a small opening on
the back side of the cover at the bottom.
I used the machine’s foot as a guide for my seam allowance to ensure the
book fitted snugly in its cover...
8. Once
you have finished joining everything together, trim edges and turn the cover
right way around. You will need to press
and iron the seams flat for a neat finish.
The small gap at the bottom through which you turned the fabric the
right way around now needs to be closed up using a slip stitch. I found this part extremely tricky and had to
ask my mom to help me. Use cotton that
will not easily be seen...
Now smooth
out cover and place your book or diary inside.
You might need to give the book a light iron on both sides to flatten
the batting a bit.
...And
you’re done!
I hope
you have found this tutorial of help to you.
If you decide to give it a go, then I would love you leave me a comment
telling me how you got on and if anything was wrong with my instructions – it
would be a pleasure to hear from you!
And if you have a photograph of your finished journal cover, then you
can either leave me a comment with the link to a photograph, or mail me at kelly.beautifulgirlhood@gmail.com! Happy sewing!
With much
crafty love
Xxx
P.S. My seventh
verse of fifty two for 2013 is James 1:19...
“Let everyone be quick to listen, slow to speak and
slow to get angry.”
Please do not copy any part of this tutorial or any of my photographs
without written permission. If you so
kindly wish to feature or link my post somewhere, please let me know so I can
also have a look!!